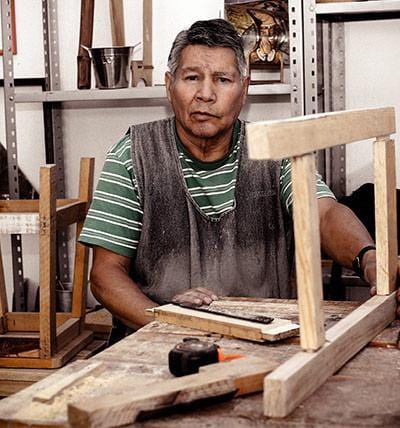



How to Make a Wooden Horse: A Simple DIY Wooden Saw Horse Build Tutorial
To make a wooden horse, cut a body and four legs from 2x4s or plywood, assemble them like traditional saw horses, then sand, shape, and finish the piece into a sturdy stand a kid can sit or saddle up on. The whole project can be finished in a weekend with basic tools, wood glue, and screws, making it an easy build for beginners and experienced woodworkers alike.

Have you ever wanted a majestic wooden horse or any other toy made out of wood as a centerpiece at home? Building your own is a rewarding project that taps into your creativity and adds real charm to a room. This horse won't race like the ones you'd bet on through TwinSpires, but it will be a fun, sturdy toy for any child.
Tools and Materials for the Build
Before you start, gather your wood, tools, and hardware. Popular wood choices for a wooden horse stand include pine 2x4s for the legs and plywood for the body and top, since both are affordable and easy to cut.
- Saw (circular or hand saw) for cutting legs and body pieces
- Tape measure and pencil to transfer measurements onto the wood
- Drill, screws, and wood glue to assemble the frame
- Sandpaper (coarse to fine grit) for a smooth finish
- Wood stain, paint, or varnish for personalizing
Don't forget to prioritize safety with goggles and gloves any time you cut or sand.
Wooden Saw Horse Build Tutorial: Step-by-Step

Sketch your design first, deciding on the size and posture of the horse. Transfer the outline onto your wood with tape and a pencil, then cut the legs, body, and top piece to size. Angle the legs slightly outward, just like traditional saw horses, so the finished stand sits flat and doesn't wobble.
Attach the legs to the underside of the top piece with screws and glue, checking that each leg has a solid fit at the bottom before moving on. Once the frame is stable, shape the body into a simple horse form, adding a head, tail, and gentle curves where the saddle stand will sit.
When I first built this wooden horse, it took one weekend using nothing more than a saw, a drill, and sandpaper — proof that this project doesn't require advanced skill.
Sanding, Finishing, and Personalizing

Sand every edge smooth, starting coarse and finishing with fine-grit paper so the wood is safe and comfortable for a kid to climb on. Round the top edges of the saddle stand, then apply paint, stain, or varnish to protect the wood and bring out its grain.
Add personal touches like a rope mane and tail, or paint on spots and a saddle outline, to turn a basic frame into a truly remarkable toy.
Frequently Asked Questions
How long does it take to make a wooden horse?
Most simple builds take one to two days, including cutting, assembling, sanding, and finishing.
What's the best wood to use?
Pine 2x4s and plywood are easiest for beginners, though oak or birch work well if you want a sturdier, more polished stand.
Is this project safe for kids to help with?
Older kids can help sand and paint, but cutting and assembling with screws should be handled by an adult.
ABOUT THE AUTHOR
Olivia Poglianich
Content Strategist
Olivia Poglianich is a nomadic brand strategist and copywriter in the wooden crafts and 3D product design space who has worked with brands such as Visa, Disney and Grey Goose. Her writing has taken her all over the world, from a Serbian music festival to a Malaysian art and culture event. Olivia is a graduate of Cornell University and is often writing or reading about travel, hospitality, the start-up ecosystem or career coaching. Her latest interests are at the intersection of web3 and communal living, both on and offline.